
Relay installation is a critical aspect of electrical system setup that requires careful planning, precise execution, and adherence to safety protocols. Whether you're installing a relay for industrial machinery, automotive applications, or residential electrical systems, understanding the fundamentals of relay installation is essential to ensure optimal performance and prevent potential hazards.
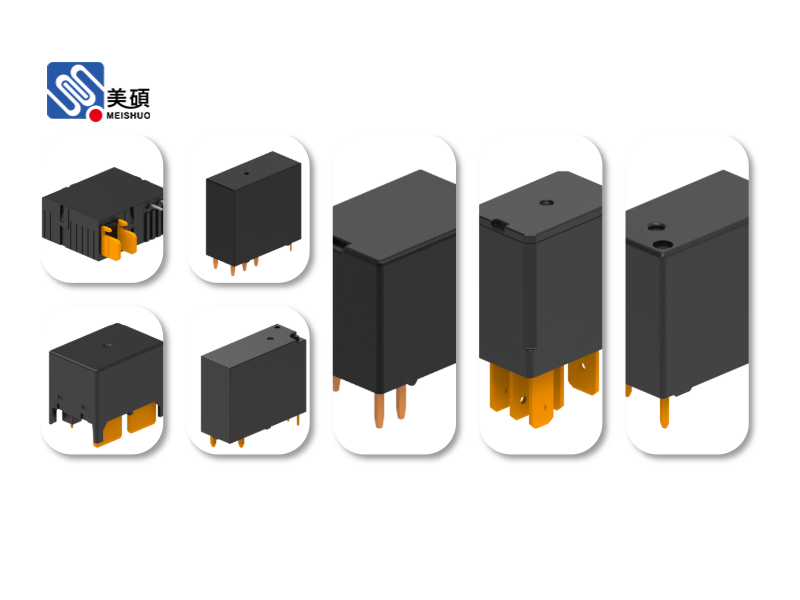
Before beginning any relay installation project, it's crucial to gather all necessary tools and equipment. This typically includes a multimeter for testing electrical connections, screwdrivers of various sizes, wire strippers, crimping tools, electrical tape, and a voltage tester to ensure circuits are de-energized. Additionally, having the appropriate relay for your specific application is paramount—consider factors such as voltage rating, current capacity, contact configuration, and environmental conditions when selecting a relay.
The first step in relay installation is to carefully read and understand the manufacturer's instructions and specifications. Each relay model may have unique requirements regarding mounting orientation, terminal connections, and operating parameters. Ignoring these guidelines can lead to improper installation, reduced performance, or even equipment failure.
Next, prepare the installation location. Ensure the mounting surface is clean, dry, and capable of supporting the relay's weight. For industrial applications, consider vibration resistance and environmental protection—some relays may require additional enclosures or mounting brackets to withstand harsh conditions. In automotive settings, proper grounding and protection from moisture are essential considerations.
When working with electrical systems, safety should always be the top priority. Before beginning any installation work, verify that the circuit is de-energized using a voltage tester. Wear appropriate personal protective equipment, including insulated gloves, safety glasses, and non-conductive footwear. If you're unsure about any aspect of the installation process, consult a qualified electrician or electrical engineer.
The actual relay installation process typically involves several key steps. First, mount the relay securely using the appropriate fasteners, ensuring it's positioned according to the manufacturer's recommendations. Next, prepare the electrical connections by stripping the ends of the wires to the specified length and crimping or soldering terminals as needed. When connecting wires to the relay terminals, follow the wiring diagram provided by the manufacturer—pay close attention to the coil terminals (usually labeled with a "+" and "-" or "A1" and "A2") and the contact terminals (often labeled "NO" for normally open, "NC" for normally closed, and "COM" for common).
After making all connections, double-check each terminal to ensure they're tight and secure. Loose connections can lead to voltage drops, overheating, and intermittent operation. Use electrical tape or heat-shrink tubing to insulate exposed wires and prevent short circuits. Once all physical connections are complete, perform a thorough visual inspection to ensure no wires are frayed, insulation is intact, and all components are properly secured.
Following the physical installation, it's essential to test the relay to verify proper operation. Begin by applying the appropriate voltage to the coil terminals and checking for activation—you should hear an audible click indicating the relay has switched states. Use a multimeter to test continuity across the contact terminals in both energized and de-energized states, ensuring they match the expected configuration.
For more complex installations involving multiple relays or integrated systems, consider performing a comprehensive system test to ensure all components work together harmoniously. This may involve simulating various operating conditions and monitoring relay performance under load.
Proper maintenance is another critical aspect of relay installation that is often overlooked. After installation, establish a regular maintenance schedule that includes periodic inspections, cleaning of contacts, and testing of relay performance. Over time, relays can experience contact wear, coil degradation, or contamination, which can affect their reliability.
Troubleshooting is an inevitable part of relay installation and operation. Common issues that may arise include relays failing to activate, contacts not closing properly, or excessive arcing. When troubleshooting, start with the basics—check power supply voltage, verify wiring connections, and inspect for physical damage. Use diagnostic tools to identify potential issues and refer back to the manufacturer's documentation for guidance.
In conclusion, relay installation is a multi-faceted process that requires technical knowledge, attention to detail, and strict adherence to safety protocols. By following proper installation procedures, selecting the appropriate relay for your application, and implementing regular maintenance practices, you can ensure reliable performance and extend the lifespan of your electrical systems. Whether you're a seasoned professional or a DIY enthusiast, taking the time to understand and execute proper relay installation techniques will ultimately save time, money, and potential headaches in the long run.

 Chat Oline