
Relay installation is a critical process in electrical systems, ensuring the efficient and safe operation of various devices and equipment. Whether for industrial applications, residential setups, or commercial buildings, proper relay installation is essential to prevent electrical failures, ensure system reliability, and protect against potential hazards.
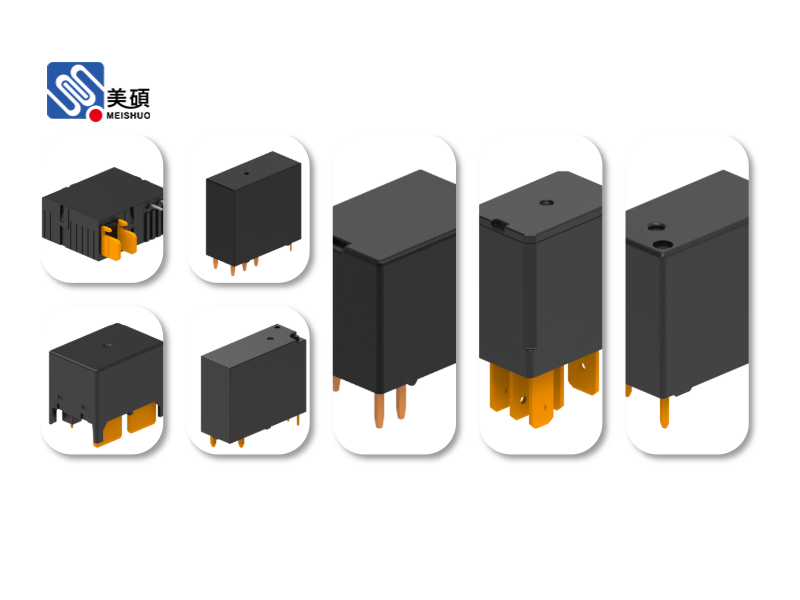
Before beginning any relay installation, it is crucial to conduct a thorough assessment of the electrical system and understand the specific requirements of the application. This includes determining the voltage and current ratings of the circuit, identifying the load characteristics, and selecting the appropriate relay type for the intended purpose. Common types of relays include electromagnetic relays, solid-state relays, thermal relays, and time-delay relays, each designed for specific functions and operating conditions.
The first step in relay installation is to gather all necessary tools and equipment. This typically includes a multimeter for testing electrical connections, screwdrivers of various sizes, wire strippers, crimping tools, and appropriate personal protective equipment (PPE) such as insulated gloves, safety glasses, and protective clothing. Additionally, having the manufacturer's installation manual and technical specifications for the relay is essential to ensure compliance with recommended procedures.
Once the necessary preparations are complete, the installation process can begin. Start by carefully reading and understanding the relay's wiring diagram, which provides detailed information on the terminal connections and proper wiring configuration. It is important to ensure that the power supply to the circuit is turned off and properly isolated before any work begins to prevent electrical shock or damage to equipment.
Next, mount the relay in the designated location, ensuring that it is securely fastened and positioned to allow for proper ventilation and heat dissipation. Relays generate heat during operation, so adequate spacing and airflow are essential to prevent overheating and ensure optimal performance. The mounting surface should be stable and capable of supporting the weight of the relay and any associated wiring.
After mounting the relay, proceed to make the necessary electrical connections. Begin by stripping the insulation from the wires to expose the appropriate length of conductor, typically around 1/4 to 1/2 inch. Use crimping tools to attach terminal lugs or connectors to the wire ends, ensuring a secure and reliable connection. When connecting wires to the relay terminals, follow the wiring diagram precisely, matching each wire to the correct terminal as indicated.
Once all connections are made, perform a visual inspection to ensure that all wires are properly secured, there are no loose connections, and the wiring is neat and organized. Avoid overcrowding the relay terminals, as this can lead to poor contact, increased resistance, and potential overheating. Use cable ties or wire management systems to bundle and secure the wires, keeping them away from moving parts and heat sources.
After completing the physical installation, it is essential to test the relay to ensure proper operation. This includes checking the coil voltage, verifying the contact resistance, and testing the relay's response to input signals. Use a multimeter to measure the voltage across the relay coil and ensure it matches the specified rating. Additionally, test the continuity of the relay contacts to ensure they are functioning correctly and making proper electrical connections when activated.
In some cases, it may be necessary to adjust the relay settings or calibration to meet specific application requirements. This can include adjusting the trip current for thermal relays, setting the time delay for time-delay relays, or configuring the sensitivity of solid-state relays. Always refer to the manufacturer's instructions for proper adjustment procedures and ensure that any changes are made in accordance with safety guidelines.
Finally, document the entire installation process, including the date of installation, relay model and serial number, wiring diagram, and any test results. This documentation is essential for future maintenance, troubleshooting, and compliance with regulatory requirements. It also provides a reference for any future modifications or upgrades to the electrical system.
In conclusion, relay installation is a complex but essential process that requires careful planning, attention to detail, and adherence to safety guidelines. By following proper installation procedures, using the correct tools and equipment, and conducting thorough testing, you can ensure the reliable and safe operation of your electrical system. Remember to always consult with a qualified electrician or technician if you are unsure about any aspect of the installation process, and never attempt to work on live electrical circuits without proper training and authorization.

 Chat Oline