
Relay installation is a critical process in electrical systems, serving as a bridge between control circuits and high-power loads. Whether you're working on industrial machinery, home automation systems, or automotive applications, understanding the proper procedures for relay installation is essential for safety, efficiency, and system reliability.
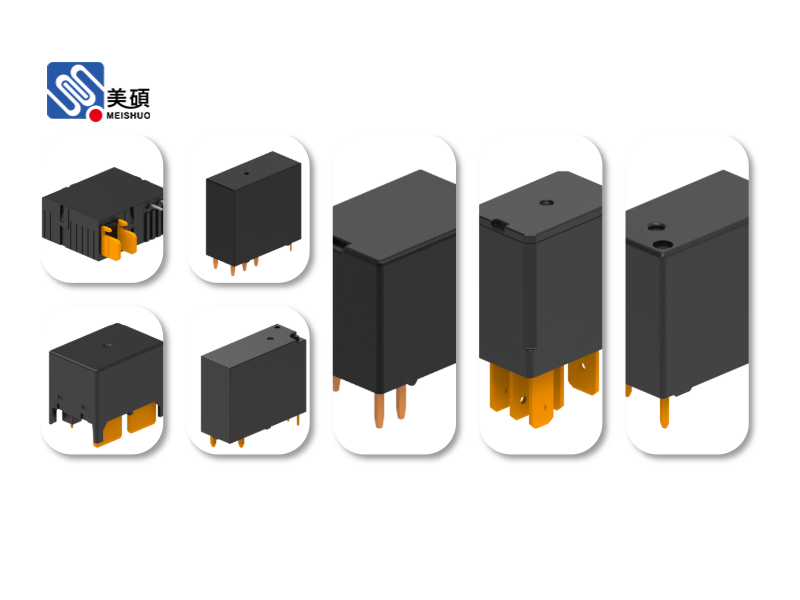
Before beginning any relay installation project, it's important to understand the basic components and functions of a relay. A relay consists of an electromagnet, armature, contact points, and a spring mechanism. When an electrical current flows through the coil, it creates a magnetic field that pulls the armature, closing or opening the contact points. This allows a low-power control signal to switch a higher-power circuit on or off.
The first step in relay installation is selecting the appropriate relay for your specific application. Consider factors such as voltage rating, current capacity, contact configuration (normally open or normally closed), and environmental conditions. For example, a relay used in a high-temperature industrial setting will require different specifications than one used in a residential lighting system.
Once you've chosen the right relay, the next step is to prepare the installation site. Ensure the area is clean, dry, and free from any potential hazards. Turn off all power sources to the circuit you'll be working on, and use a voltage tester to confirm that no electricity is present. This is a crucial safety step that should never be skipped.
When mounting the relay, choose a location that allows for proper heat dissipation and easy access for future maintenance. Relays generate heat during operation, so adequate ventilation is important to prevent overheating. Use appropriate mounting hardware, such as screws or brackets, to secure the relay in place. Avoid placing the relay near sources of excessive heat, vibration, or moisture.
Wiring the relay correctly is another critical aspect of the installation process. Refer to the relay's datasheet for specific wiring diagrams and terminal assignments. Typically, relays have at least two main sets of terminals: one for the control circuit (coil) and another for the load circuit (contacts). The control circuit is usually connected to a switch, sensor, or other control device, while the load circuit connects to the device being controlled, such as a motor, light, or heater.
When connecting wires, use the appropriate gauge for the current being carried. Undersized wires can cause voltage drops, overheating, and potential fire hazards. Strip the wire ends properly, ensuring that no bare wire is exposed beyond the terminal connections. Use crimp connectors or soldering for secure, long-lasting connections. After wiring is complete, double-check all connections to ensure they are tight and properly insulated.
Once the relay is installed and wired, it's time to test the system. Gradually apply power to the control circuit and observe the relay's operation. Check that the contacts open and close as expected, and that the load device responds correctly. Use a multimeter to verify voltage levels and current flow at various points in the circuit. If any issues are detected, troubleshoot the problem before putting the system into regular operation.
Regular maintenance is essential to ensure the long-term performance of your relay installation. Periodically inspect the relay for signs of wear, corrosion, or overheating. Clean any dust or debris that may have accumulated on the contacts or coil. Check the tightness of all connections and replace any damaged components as needed. Following the manufacturer's recommended maintenance schedule will help extend the life of the relay and prevent unexpected failures.
In conclusion, proper relay installation requires careful planning, attention to detail, and adherence to safety guidelines. By selecting the right relay, preparing the installation site, following correct wiring procedures, and conducting thorough testing, you can ensure a reliable and efficient electrical system. Whether you're a professional electrician or a DIY enthusiast, taking the time to do the job right will save you time and money in the long run, while also ensuring the safety of your equipment and personnel.

 Chat Oline