


Relay installation is a critical process that ensures the proper functioning of electrical systems in both residential and commercial settings. A relay acts as an electrically operated switch that controls a high-power circuit using a low-power signal, making it an essential component in various applications such as lighting systems, motor controls, and security systems. Proper installation not only guarantees optimal performance but also prevents potential hazards, including electrical fires and equipment damage. This guide will walk you through the key steps, safety considerations, and best practices for successful relay installation.
Before beginning any relay installation, it is crucial to gather the necessary tools and materials. These typically include a relay unit, appropriate wiring (such as 14-gauge or 16-gauge wire), wire strippers, a screwdriver set, a multimeter for testing, and safety equipment like insulated gloves and safety goggles. Additionally, you should consult the relay's datasheet to understand its specifications, including voltage ratings, current capacity, and pin configurations. This information is vital to ensure compatibility with the target circuit and prevent overloading.
The first step in the installation process is to identify the correct location for the relay. Relays should be mounted in a dry, well-ventilated area away from direct sunlight and extreme temperatures. Avoid placing them near sources of moisture or corrosive substances, as these can damage the internal components. Once the location is determined, secure the relay using mounting brackets or screws, ensuring it is firmly attached to a stable surface. This prevents vibrations from affecting its performance over time.
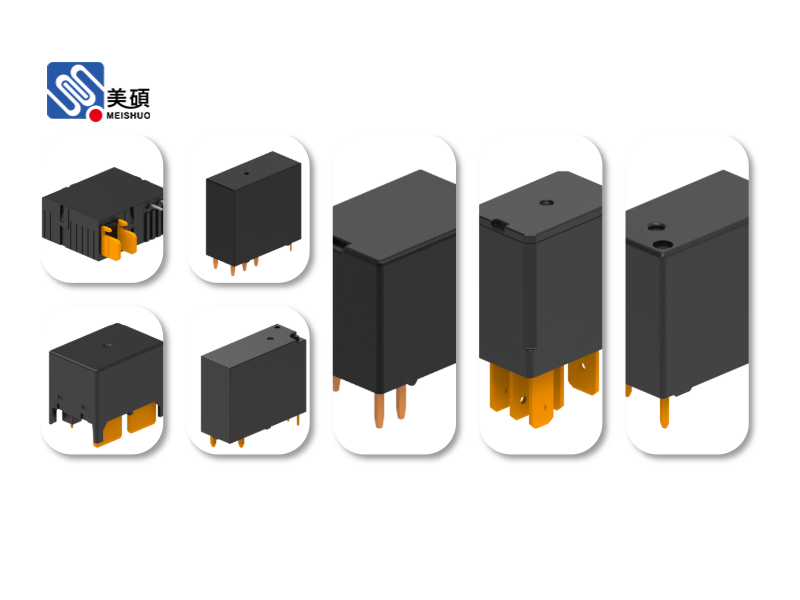
Next, you will need to connect the relay to the power source and the load. Start by turning off the main power supply to the circuit to avoid electric shock. Use the multimeter to verify that there is no voltage present before proceeding. The relay typically has four main terminals: the coil terminals (which receive the control signal) and the contact terminals (which connect to the load). Refer to the relay's pinout diagram to identify each terminal correctly. For example, a standard SPDT (Single Pole Double Throw) relay has a common terminal, a normally open (NO) terminal, and a normally closed (NC) terminal. The coil terminals are usually labeled with '+' and '-' signs to indicate the polarity.
When connecting the wiring, ensure that the wires are properly stripped and crimped to prevent loose connections. Use wire nuts or terminal blocks to secure the connections, and avoid over-tightening screws, which can damage the terminals. For the coil, connect one terminal to the control signal source (such as a switch or microcontroller) and the other to the ground or negative terminal of the power supply. For the contact terminals, connect the common terminal to the power source, the NO terminal to the load (e.g., a light bulb or motor), and the NC terminal to an optional secondary circuit if needed. Double-check all connections to ensure they match the relay's specifications and the circuit diagram.
After completing the wiring, it is essential to test the relay to confirm its functionality. Turn on the power supply and activate the control signal. The relay should click, indicating that the coil has energized and the contacts have switched. Use the multimeter to check the voltage across the load terminals to ensure that power is being transmitted correctly. If the relay does not operate as expected, check for loose connections, incorrect wiring, or a faulty relay. It may also be necessary to adjust the control signal voltage to match the relay's coil requirements.
Safety is paramount throughout the installation process. Always wear insulated gloves and safety goggles to protect against electric shock. Never work on a live circuit, and use a lockout-tagout procedure if multiple people are involved. Additionally, ensure that the relay is rated for the voltage and current of the circuit to prevent overheating and potential fire hazards. Regular maintenance, such as cleaning the relay contacts and checking for signs of wear, will extend its lifespan and ensure reliable performance.
In conclusion, relay installation requires careful planning, attention to detail, and adherence to safety protocols. By following the steps outlined in this guide, you can ensure that your relay operates efficiently and safely. Whether you are installing a relay for a simple lighting system or a complex industrial application, taking the time to understand the relay's specifications and following best practices will result in a successful installation. Remember to always consult a professional electrician if you are unsure about any aspect of the process, as improper installation can lead to serious consequences.

 Chat Oline