


Relay troubleshooting is an essential skill for anyone working with electrical systems. Whether you are an electrician, a maintenance engineer, or simply someone who enjoys DIY projects, understanding how to diagnose and fix relay issues can save you time, money, and frustration. In this comprehensive guide, we will explore the common problems that can occur with relays, the steps to identify them, and the techniques to resolve them effectively.
**Understanding Relays**
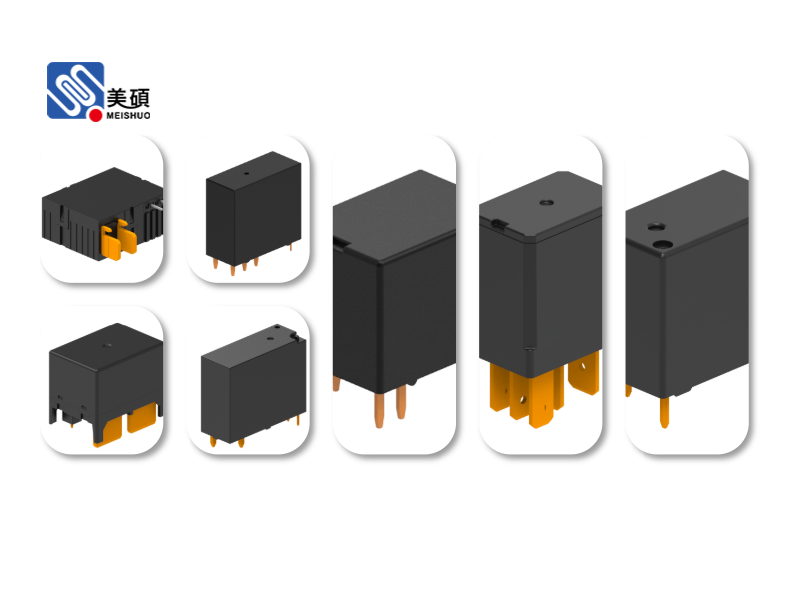
Before diving into troubleshooting, it's crucial to have a basic understanding of what a relay is and how it works. A relay is an electrical switch that operates electromagnetically. It consists of a coil, a set of contacts, and a mechanism that connects or disconnects the contacts when the coil is energized. Relays are used in various applications, including control circuits, power distribution, and automation systems.
**Common Relay Problems**
1. **Contact Wear and Arcing**: Over time, relay contacts can wear down, leading to poor contact and arcing. This can cause intermittent operation or complete failure of the relay. 2. **Coil Failure**: The coil is the heart of the relay, and any failure can render the relay inoperable. Common coil failures include open circuits, short circuits, and overheating. 3. **Mechanical Issues**: Relays can experience mechanical problems such as binding, which can prevent the relay from operating properly. 4. **Power Supply Issues**: Inadequate voltage or power fluctuations can cause relays to malfunction.
**Troubleshooting Steps**
1. **Visual Inspection**: Start by visually inspecting the relay for any signs of damage, such as burnt contacts or a visibly malfunctioning coil. 2. **Check the Power Supply**: Ensure that the relay is receiving the correct voltage and that there are no power fluctuations. 3. **Test the Coil**: Use a multimeter to test the coil for continuity and resistance. A faulty coil may show an open circuit or a short circuit. 4. **Inspect the Contacts**: Check the contacts for wear and arcing. Clean the contacts if necessary, and replace them if they are severely damaged. 5. **Mechanical Check**: If the relay is binding, disassemble it and lubricate the moving parts or replace the damaged components. 6. **Functional Test**: Once you have completed the necessary repairs, test the relay to ensure it operates correctly.
**Preventive Measures**
To avoid relay problems in the future, consider the following preventive measures:
1. **Regular Maintenance**: Schedule regular maintenance checks to inspect and clean relays. 2. **Quality Components**: Use high-quality relays and components to reduce the risk of failure. 3. **Proper Installation**: Ensure that relays are installed correctly and that the wiring is secure. 4. **Environmental Protection**: Protect relays from harsh environmental conditions, such as excessive heat, moisture, and vibration.
**Conclusion**
Relay troubleshooting is a vital skill for anyone working with electrical systems. By understanding the common problems that can occur with relays and following the troubleshooting steps outlined in this guide, you can effectively diagnose and fix relay issues. Remember to take preventive measures to avoid future problems and ensure the reliable operation of your electrical systems.

 Chat Oline