


The solenoid valve is a crucial component in various industrial and domestic applications, playing a pivotal role in controlling the flow of fluids and gases. Among the numerous types of solenoid valves available in the market, the Easy Installation Solenoid Valve stands out for its simplicity and efficiency. This article delves into the details of the Easy Installation Solenoid Valve, highlighting its features, benefits, and installation process.
**Understanding the Easy Installation Solenoid Valve**
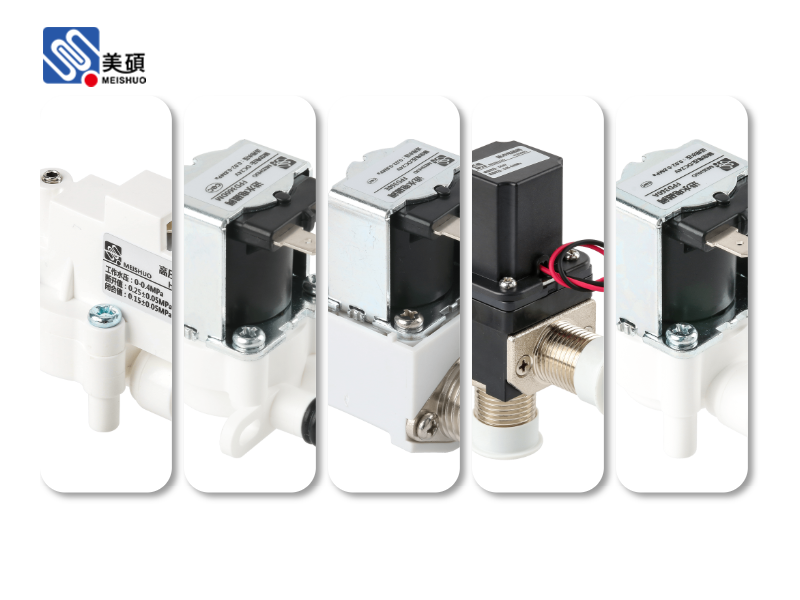
The Easy Installation Solenoid Valve is designed with user convenience in mind. It features a compact design, making it suitable for installations in tight spaces. The valve is available in various sizes and configurations, catering to different flow rates and pressure requirements. The key characteristics of this valve include:
1. **Simple Design**: The Easy Installation Solenoid Valve boasts a straightforward design, which simplifies the installation process and reduces the chances of errors during assembly. 2. **Quick Mounting**: The valve is designed for quick mounting, allowing users to save time and effort during installation. 3. **Durable Materials**: The valve is constructed using high-quality materials, ensuring its longevity and reliability in harsh environments.
**Benefits of the Easy Installation Solenoid Valve**
The Easy Installation Solenoid Valve offers several advantages over traditional solenoid valves. Some of these benefits include:
1. **Cost-Effective**: The valve is cost-effective, as it requires minimal installation time and effort, thereby reducing labor costs. 2. **Energy Efficiency**: The valve is designed to optimize energy consumption, making it an environmentally friendly choice. 3. **Reliability**: The valve's durable construction ensures reliable performance, even in challenging conditions.
**Installation Process**
Installing the Easy Installation Solenoid Valve is a straightforward process. Here's a step-by-step guide to help you through the installation:
1. **Prepare the Installation Area**: Ensure that the installation area is clean and free of any debris. This will help prevent any damage to the valve during installation. 2. **Select the Right Valve**: Choose the correct size and configuration of the valve based on your specific requirements. 3. **Mount the Valve**: Attach the valve to the desired location using the provided mounting brackets. Ensure that the valve is securely fastened to prevent any movement during operation. 4. **Connect the Lines**: Connect the fluid or gas lines to the valve using the appropriate fittings. Make sure the connections are tight to prevent any leaks. 5. **Power Supply**: Connect the valve to the power supply according to the manufacturer's instructions. Ensure that the voltage and current ratings match the valve's specifications. 6. **Test the Valve**: Once the installation is complete, test the valve to ensure that it operates correctly.
**Conclusion**
The Easy Installation Solenoid Valve is a versatile and efficient choice for various applications. Its simple design, quick installation process, and numerous benefits make it an ideal choice for both industrial and domestic use. By following the installation process outlined in this article, you can ensure a successful and hassle-free installation of the Easy Installation Solenoid Valve.

 Chat Oline