


The water supply solenoid valve is an essential component in modern plumbing systems, providing efficient control over water flow. This article aims to provide a comprehensive guide to building a water supply solenoid valve, covering its components, installation, and maintenance.
**Introduction**
Water supply solenoid valves are widely used in various applications, including irrigation systems, industrial processes, and residential buildings. These valves are designed to open and close automatically in response to electrical signals, making them ideal for automated control systems. Building a water supply solenoid valve requires a good understanding of its components and proper installation techniques.
**Components of a Water Supply Solenoid Valve**
A typical water supply solenoid valve consists of the following components:
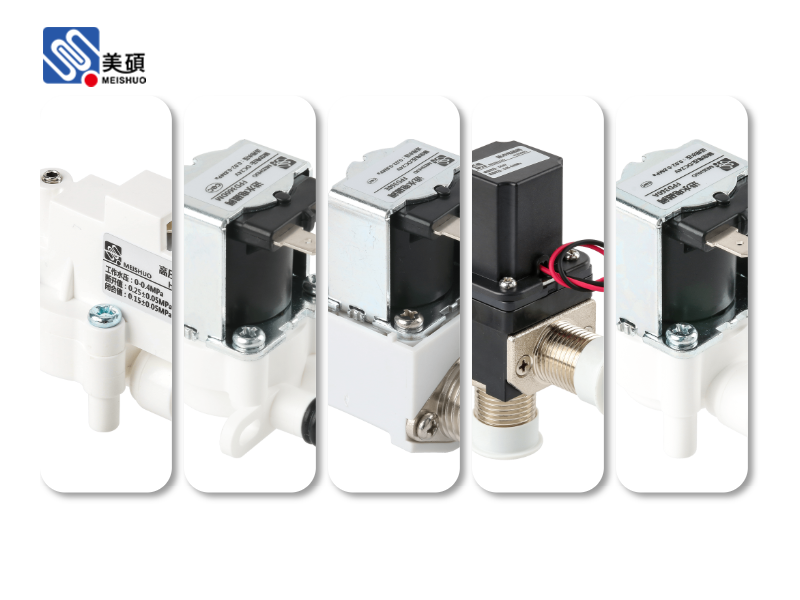
1. **Solenoid**: The solenoid is the core component of the valve, responsible for converting electrical energy into mechanical motion. It consists of a coil, a plunger, and a core. When an electrical current passes through the coil, it generates a magnetic field that pulls the plunger, causing the valve to open or close.
2. **Valve Body**: The valve body is the main housing that contains the internal components. It is usually made of brass or stainless steel and is designed to withstand high pressure and temperature.
3. **Seat**: The seat is a sealing surface that prevents water from leaking when the valve is closed. It is typically made of rubber or other resilient materials.
4. **Spool**: The spool is a moving part that moves up and down within the valve body, controlling the flow of water. It is connected to the plunger and moves in response to the solenoid's magnetic field.
5. **Actuator**: The actuator is the mechanism that converts the solenoid's linear motion into the spool's rotational motion. It ensures smooth and precise operation of the valve.
**Installation of a Water Supply Solenoid Valve**
Installing a water supply solenoid valve requires careful planning and execution. Here are the general steps involved:
1. **Choose the Right Location**: Select a suitable location for the valve, ensuring it is easily accessible for maintenance and repair.
2. **Prepare the Pipeline**: Cut the pipeline at the desired location and clean the ends to ensure a tight fit.
3. **Install the Valve**: Place the valve in the pipeline and secure it using mounting brackets. Ensure that the valve is properly aligned and that the pipeline is not under excessive pressure.
4. **Connect the Electrical Wires**: Connect the electrical wires from the valve to the control system. Follow the manufacturer's instructions to ensure proper wiring.
5. **Test the Valve**: Once the installation is complete, test the valve to ensure it operates correctly. Check for any leaks or malfunctions.
**Maintenance of a Water Supply Solenoid Valve**
Regular maintenance is crucial for the proper functioning of a water supply solenoid valve. Here are some maintenance tips:
1. **Inspect the Valve Regularly**: Check the valve for any signs of wear or damage, such as leaks, corrosion, or loose connections.
2. **Clean the Valve**: Clean the valve body, seat, and spool to remove any debris or sediment that may accumulate over time.
3. **Lubricate Moving Parts**: Apply a small amount of lubricant to the moving parts of the valve to ensure smooth operation.
4. **Replace Worn Parts**: Replace any worn or damaged parts, such as the solenoid, seat, or spool, to maintain the valve's performance.
**Conclusion**
Building a water supply solenoid valve requires attention to detail and proper installation techniques. By understanding the components and maintenance requirements of these valves, you can ensure their reliable operation in your plumbing system.

 Chat Oline